Assets
The Assets section displays all asset packs currently available in Plasticity. This new asset management workflow lets you create reusable component libraries, share them with other users, and quickly populate scenes with pre-built geometry.
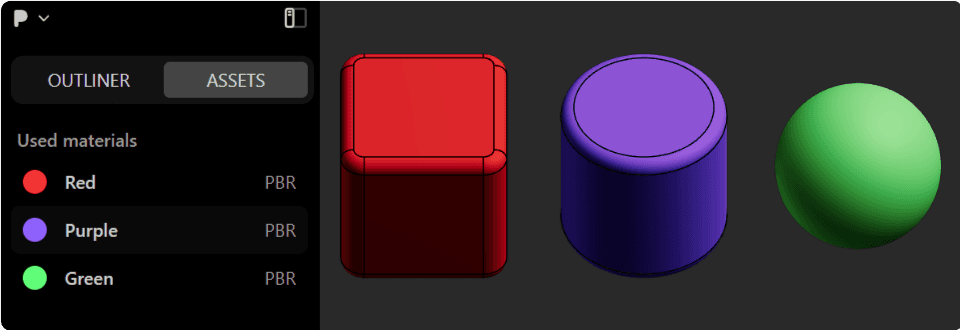
How to Use Asset Packs
The Assets panel is located in the left ribbon of the Plasticity interface, third from the top (1). An asset pack is a collection of pre-made objects such as insets or greebles that are bundled into a single file so you can import and reuse across projects.

Basic Usage
- Open the Assets panel.
- If you don't have any asset packs imported, click on the Add Asset Pack button -
 to import an asset pack file (.plasticitypack) from your computer.
- Check out the Importing Asset Packs section for more details.
- Check out the Mark Objects as Assets and Export Asset Packs sections for more details on how to create an asset pack and share your assets with others.
- Once the asset pack is imported, you can browse through the available assets in the folder.
- To insert an asset into your scene, simply drag and drop it from the Assets folder into the viewport.
- The Place command will be automatically invoked - see Place for more details.
- Right-click to confirm the placement of the asset in the scene.
- Your asset has been added.
- See how to Mark Objects as Assets to create your own asset packs.
- See how to Import Asset Packs to bring in new assets into your Plasticity project.
- See how to Export Asset Packs to share your assets with others.
- See how to Reload Assets to revert an asset back to its original state.
Marking Objects as Assets
 In Command Palette
You can select the object and use Toggle Asset command to mark it as an asset from the Command Palette.
Basic Usage
- Select the object in the viewport.
- Search for Toggle Asset in the Command Palette and execute it.
- Alternatively, you can right-click on the object in the Outliner and select Mark as Asset.
- The object is now marked as an asset and will have an icon indicating that it is an asset in the Outliner -
 . To unmark an asset, select the object and execute the Toggle Asset command again.
- Alternatively, you can right-click on the object in the Outliner and select Unmark as Asset.
Importing Asset Packs
Importing asset packs is a simple process that allows you to bring in new assets into your Plasticity project.
It is recommended to have a master directory where you can store your asset packs for easy access and organization. This way the connection link to the asset packs will remain intact and you can easily reload them when needed. If you move or rename the asset pack, you will need to re-import it into Plasticity.
Basic Usage
There are three ways to import asset packs into Plasticity:
Drag And Drop
- Drag and drop the asset pack file directly into the Plasticity viewport.
- The asset pack will be imported and added to the Assets panel.
Import from Import/Append Menu
- Go to File > Import/Append... > [Asset Pack Name].plasticitypack.
- Select the asset pack file from your computer and click Open.
Asset packs are imported into the Outliner, but they are not added to the Assets panel. The group folder will contain the objects that are automatically marked as assets.
Importing Asset Packs from the Assets Panel
- Open the Assets panel.
- Click on the Add Asset Pack button - .
- Select the asset pack file (.plasticitypack) from your computer.
Exporting Asset Packs
 In Command Palette
Exporting asset packs allows you to share your assets with others or use them in different Plasticity projects.
After exporting an asset pack, it will automatically be added to the Assets panel by default.
Basic Usage
There is one way to export asset packs from Plasticity:
Export from Invoking the Export Asset Pack command
- Ensure that the object is marked as an asset in the Outliner.
- Right-click on the object in the Outliner and select Mark as Asset.
- Alternatively, you can use the Toggle Asset command from the Command Palette to mark the object as an asset.
- Search for Export Asset Pack in the Command Palette and execute it.
- A window will pop up asking you to select a location to save the asset pack. Choose your desired location and click Save.
- Your asset pack has been exported.
Reloading Assets
 In Command Palette
Reloading an asset will essentially revert it to its default, original state. This is useful if you've made changes to an asset and want to revert it back to its original form.
This takes effect when you've inserted an asset into your scene and made changes to it. Note that the asset needs to have a status of "linked" -  .
.

Basic Usage
- Select the modified asset.
- Search for Reload Asset in the Command Palette and execute it.
- Alternatively, you can right-click on the asset in the Outliner and select Reload Asset.
- The asset will be reverted back to its original state.
Context Menu
Plasticity provides right-click context menus in both the Outliner and the Asset Tab, with different options depending on what you right-click.
Outliner
Right-Click on a Regular Object
Right-clicking on a regular (non-asset) object gives you the option to Mark as Asset.

Right-clicking on an object already marked as an asset gives you the option to Unmark as Asset instead.

Right-Click on a Linked Asset
Right-clicking on an asset that is linked in the Outliner gives you the option to Reload Asset.

Asset Tab
Right-Click on an Asset Pack
Right-clicking on an asset pack displays two options:
- Reveal File in Browser - opens the file location of the asset pack on your computer.
- Remove Asset Pack - removes the asset pack from the Assets panel.

Right-Click on an Asset
Right-clicking on an individual asset inside an asset pack folder displays two options:
- Select All Instances of This Asset - selects every instance of that asset currently in your scene.
- Reload All Instances of This Asset - reverts every instance of that asset in your scene back to its original state.
